The inspiration was from thepromiselandfarm.com. We changed some items around to make it more suited for holding up to 100 broilers. We needed additional water/feed storage, and didn’t need laying boxes but wanted a closet in the rear to hold equipment.
We are not carpenters, but we do like to save money, I’m sure we made structural errors in our build, but if it breaks, we will fix it to be better/stronger then before.
Started the project in the summer of 2015 with the wife doing a wanted add for a hay wagon on Craigslist, Got an answer back almost immediately for somebody that had one.
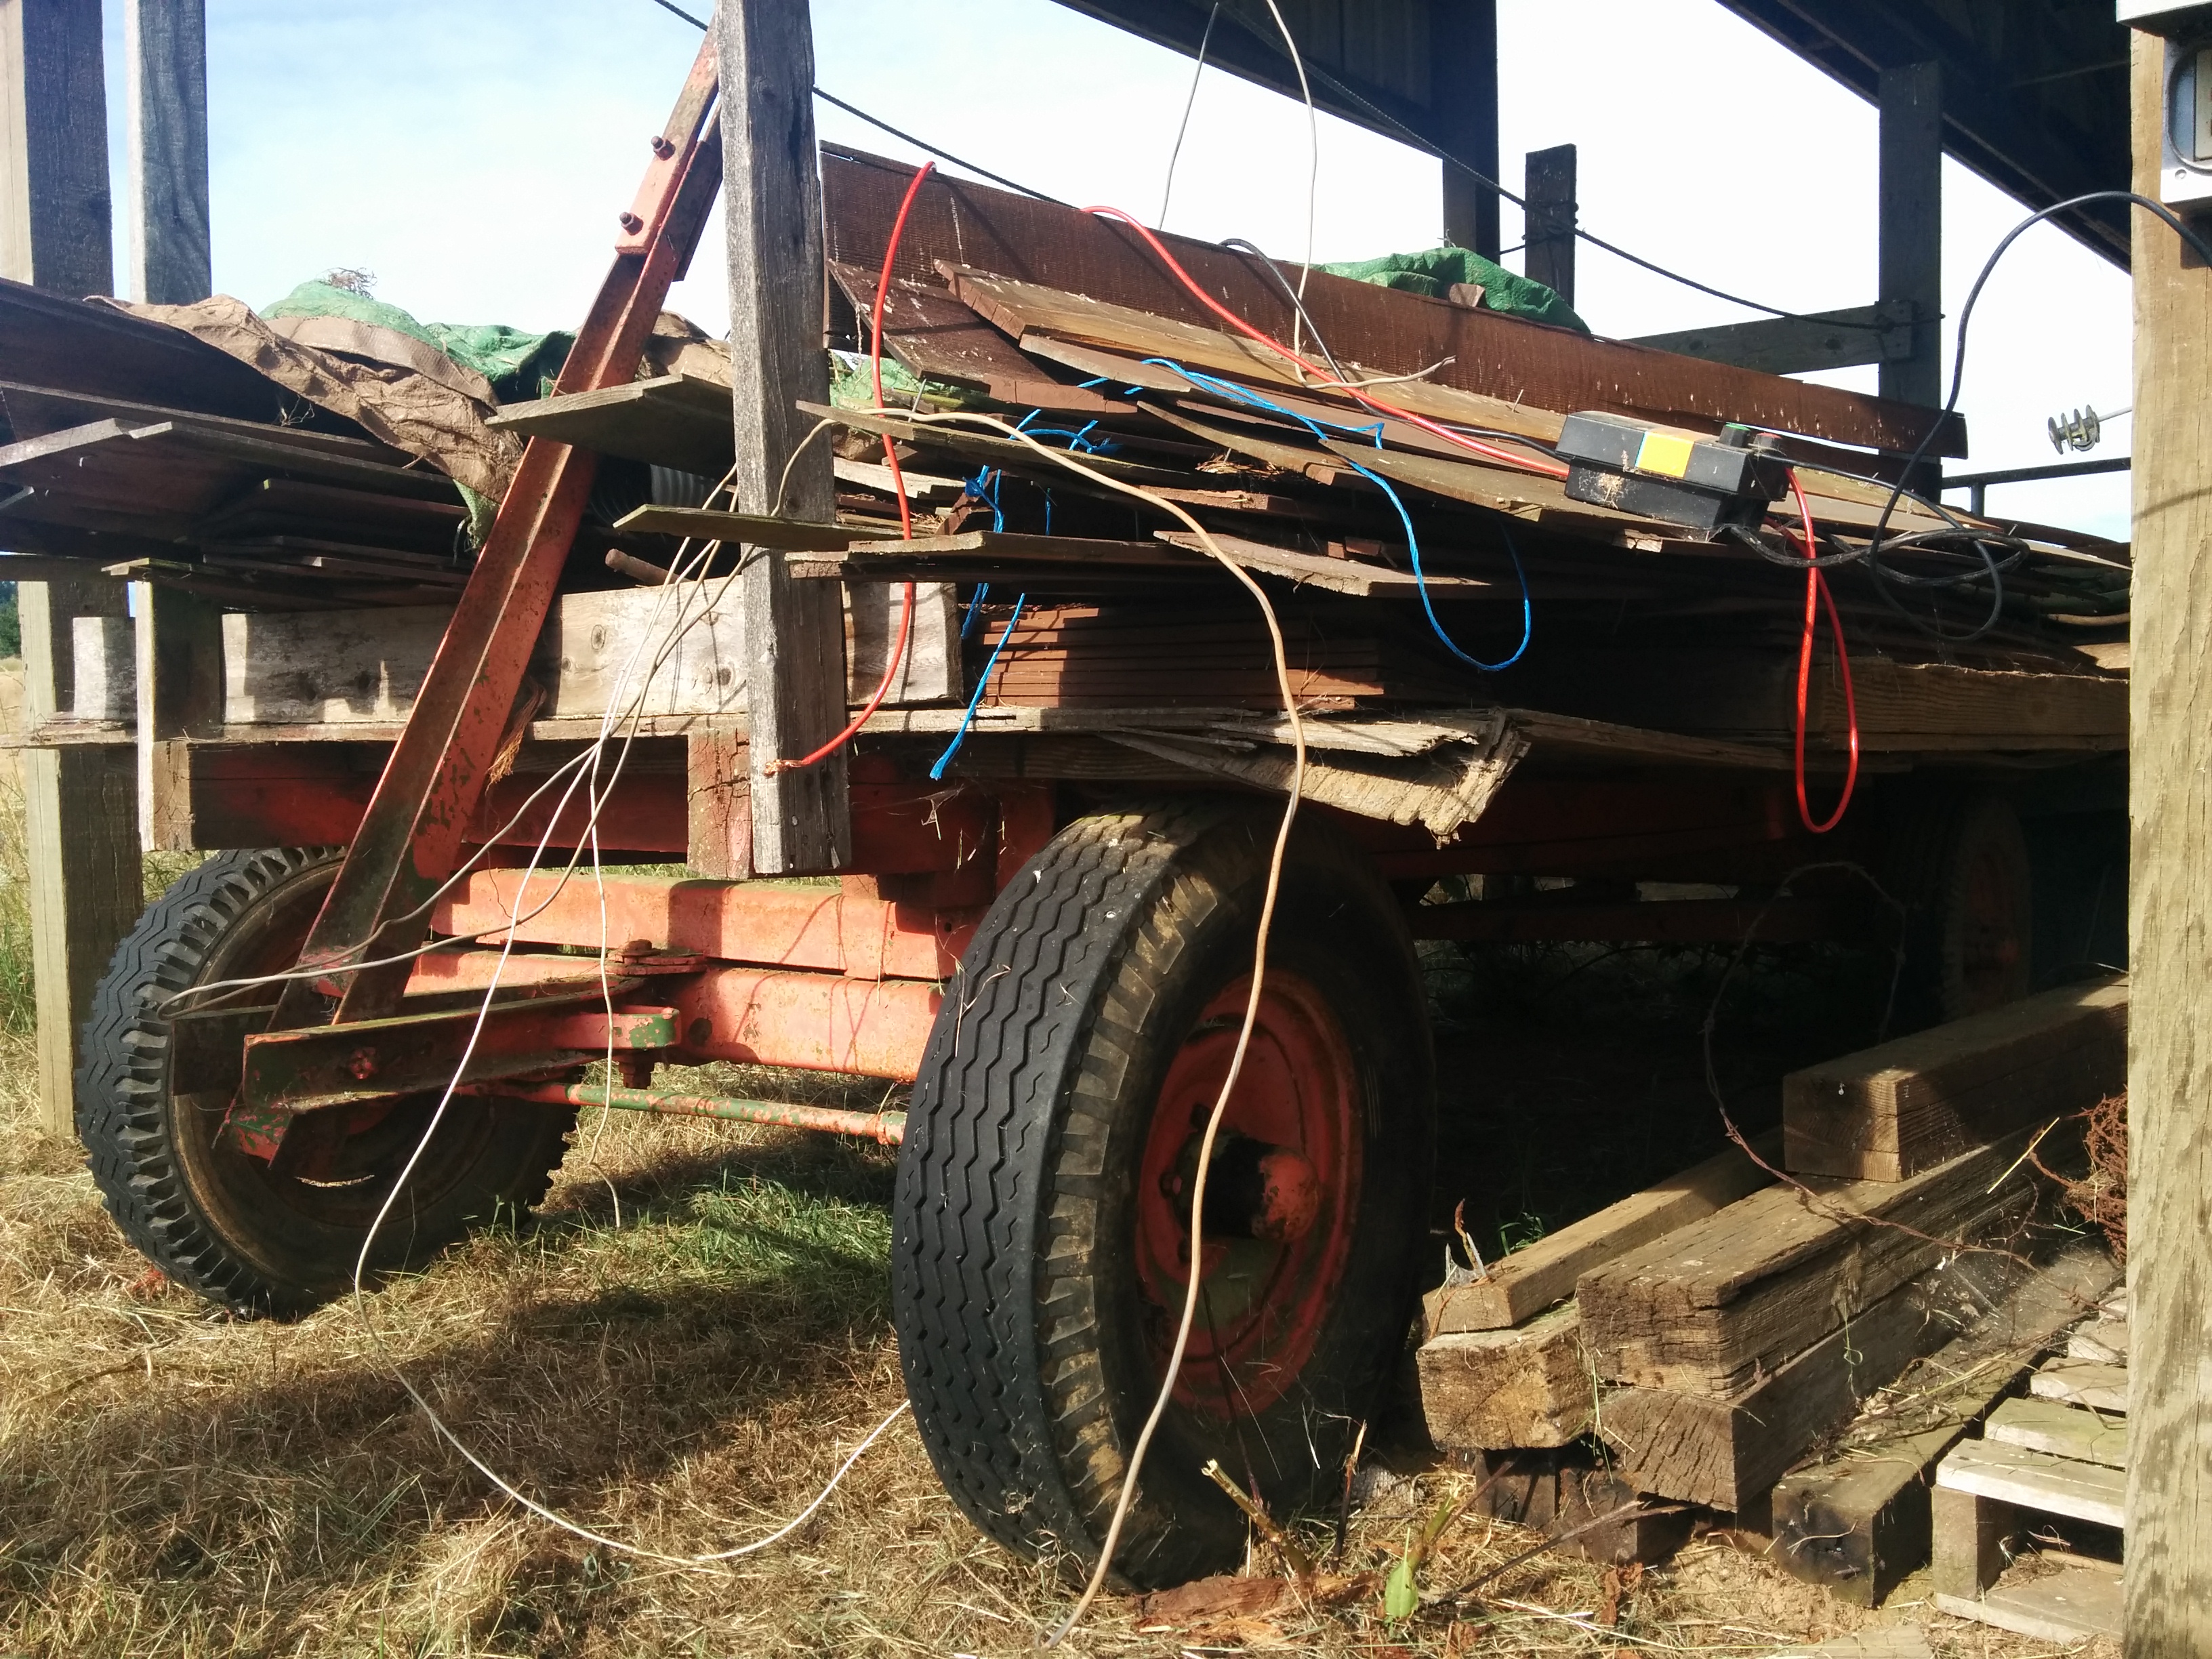
Picked it up a couple days later and started stripping it down to just the running gear:


And this is pretty much the way it sat until we realized we had 65 chicks coming at the end of March… So….
Sandblasted the whole thing to get any of the loose paint off.

Then painted it all with Leather Brown Rustoleum Professional


Didnt take pictures of the framing but ran two 4x6x16 Pressure treated timbers front to back with 2×6 bracing back and forth. Added 4-4’x8′ expanded metal deck and started building up.


Getting the ridge beam put in place and test fitting trusses.

Trusses all set with furring strips

Started putting siding on


We also started the framing to hold the 30 gallon water tank above, bracing it right above the cross member on the outside wall, will probably do another post about the plumbing/waterers for that. the side you are looking at above will be for the feeding station. Above the water tank will be a small cover with a french cleat. Will take it out when we remove the water tank.
Started the internal build of the feeding station, on the inside of the wagon will be the trough, on the outside will be a blast gate that will pull to open to dump grain in the bucket. In the picture below the station in turned around for us to work on it.

Finished siding, started putting up the trim. Note.. the blue is the primered trim.


We had to get new tires as the old ones were very weather checked, we painted the wheels the same color as the trailer. Started painting….


We missed some pictures of getting the trim on and metal roof… at this point we are about done 🙂


Time to bring it down from the shop to the barn.


Here are some inside shots before we moved in the hover brooder


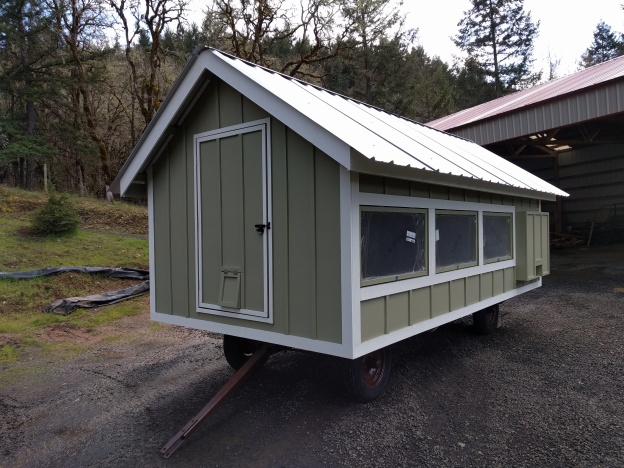
Here’s a final shot for this post:

Thanks again to the the Promise Land Farm for the inspiration.
